| Info |
|---|
Some of the features here might be unavailable for you. Please contact your Jira administrator if you think it should be available. |
In this page
| Table of Contents | ||||
|---|---|---|---|---|
|
Where to find
| Note |
|---|
To use Administer Fields for Project's features you have to be a project administrator at least in one project of the Jira instance. |
To Access the Administer Fields for Project's dialog:
- Access the relevant project.
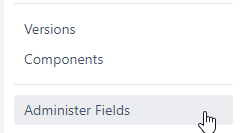
- Go to
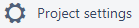 .
. - Click on the Administer Fields button Under Components:
- A dialog similar to this one should open:
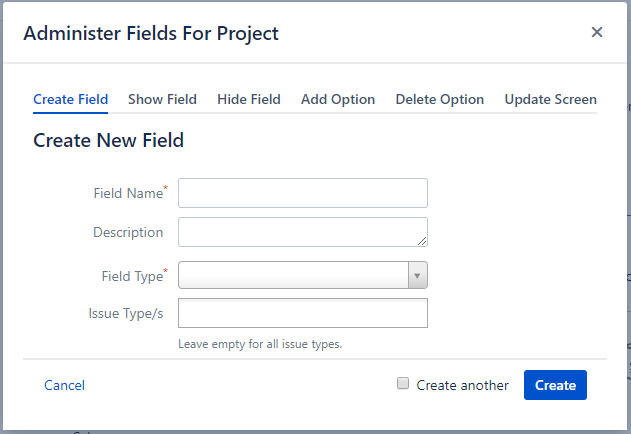
- You're good to go!
| Anchor | ||||
|---|---|---|---|---|
|
In this tab you can create a new field for your project by following these steps:
- Enter the field name and type. Note that you can't add a field with the same name as an existing one.
- If you choose a select field to add (e.g. Select List (Single)), an Options text box will open, add your options there.
- You can also add a description to your field and limit the use of this field for specific issue types.
- If you want to create multiple fields, make sure the
 checkbox is checked.
 - Hit the
 button to create the field.
 - You should get this flag:
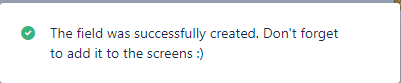
- The field was created with a context only for this project, this means that it won't appear on any screen for issues not in the project. Learn more about Field Contexts in Atlassian Documentation.
- Make sure to add the field to the screens at Update Screen tab.
- If you added a field with options (e.g. Select List), you can add more options to it at Add Option tab.
Supported Field Types - Create Field
- Checkboxes
- Date Picker
- Date Time Picker
- Group Picker (mutiple groups)
- Group Picker (single group)
- Labels
- Number Field
- Project Picker (single project)
- Radio Buttons
- Select List (cascading)
- Select List (multiple choices)
- Select List (single choice)
- Text Field (multi-line)
- Text Field (read only)
- Text Field (single line)
- URL Field
- User Picker (multiple users)
- User Picker (single user)
- Version Picker (multiple versions)
- Version Picker (single version)
- + More field types
| Anchor | ||||
|---|---|---|---|---|
|
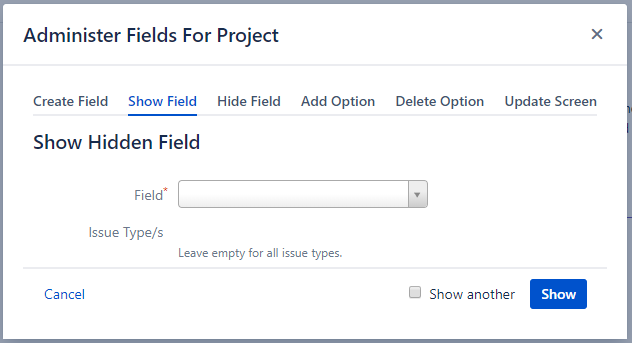
In this tab you can show a field that is hidden by its Field Configuration by following these steps:
- Select the field you would like to show. Only fields that are hidden for at least one issue type will be available in the list.
- Select the issue types you would like to show the field for.
 Note that you can impact other issue types if they use a shared Field Configuration.
 - If you want to show multiple fields, make sure the
 checkbox is checked.
 - Hit the
 button to show the field.
 - You should get this flag:

| Anchor | ||||
|---|---|---|---|---|
|
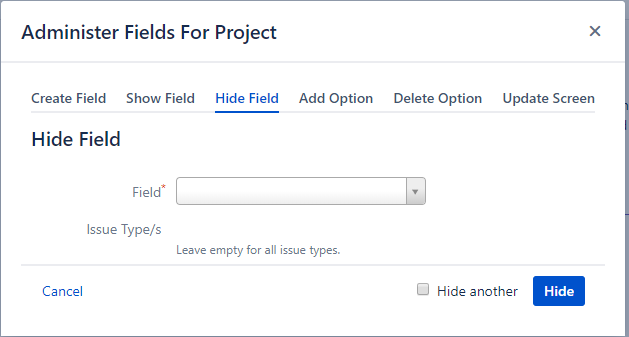
In this tab you can hide a field that is shown by its Field Configuration by following these steps:
- Select the field you would like to hide. Only fields that are shown for at least one issue type will be available in the list.
- Select the issue types you would like to hide the field for. Note that you can impact other issue types if they use a shared Field Configuration.
- If you want to hide multiple fields, make sure the
 checkbox is checked.
 - Hit the
 button to hide the field.
 - You should get this flag:

| Anchor |
|---|
|
|
Edit Option

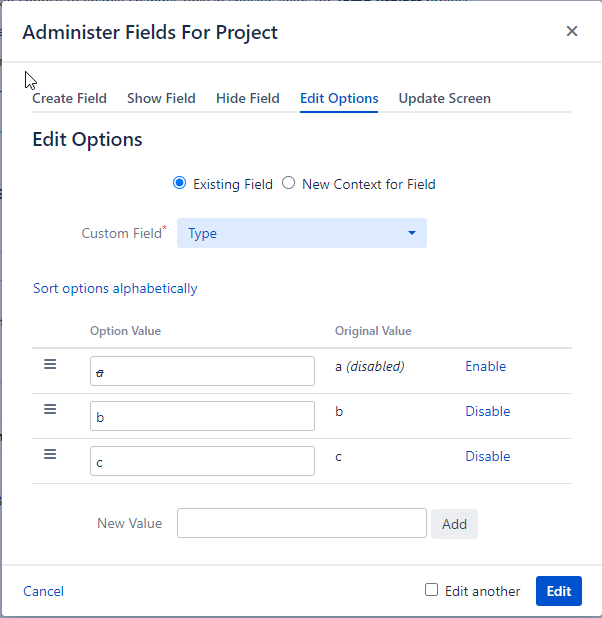
In this tab you can add an option to edit options of a select field (see supported fields in the right) by following these steps:
- Check Existing Field checkbox if you want to add an option to edit options of a field that has context to this project, or New Context for Field checkbox if you want to add a new context to a field.
- Select the field you would like to add an option toedit its options. Only fields with type from the supported types will appear in the list.
- If the field is a Select List (cascading) type, check Option checkbox to add a edit the parent optionoptions, or Sub Option to add a edit the sub-optionoptions.
- If you want to add a edit sub-optionoptions, you have to pick a parent option to add the edit its sub-option tooptions.
- Enter the new option name options in the New Value text box. Note that you can't add an option with the same name as an existing one in the field.
- If you want to add multiple options, make sure the
 checkbox is checked.
 - Hit the
 button to add the option.
 - You should get this flag:


In this tab you can delete an option from a select field (see supported fields in the right) by following these steps:
- Select the field you would like to delete an option from. Only fields with type from the supported types will appear in the list.
- If the field is a Select List (cascading) type, check Option checkbox to delete a parent option, or Sub Option to delete a sub-option.
- If you want to delete a sub-option, you have to pick a parent option to delete the sub-option from.
- Select the option you want to deleteSort the options with the
 button or with drag and drop.
 - Edit an existing option by changing its value in the Option Value column. Enable/disable an option by clicking on the
 button.
 - If you want to add edit multiple optionsfields, make sure the

 checkbox is checked.
 - Hit the

 button to delete save the optionoptions.
 - You should get this flag:
 The option is now disabled. It means that you can't select this option when creating/editing issues, but you can find issues that use this option.
If you want to enable this option again, just "add" it again in the Add Option tab.
Supported Field Types - Add and Delete Option
- Checkboxes
- Radio Buttons
- Select List (cascading)
- Select List (multiple choices)
- Select List (single choice)
| Anchor | ||||
|---|---|---|---|---|
|
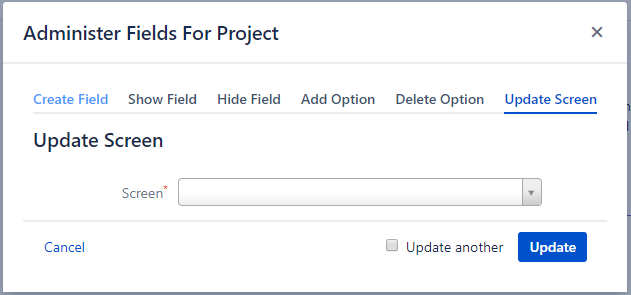
In this tab you can update a screen (see supported fields in the right) by following these steps:
- Select the screen you would like to update.
- Editing the tabs in the screen:
- You can add a new tab to the screen using the + button

Enter the new tab name and hit the button.
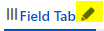
 - You can edit tab name using the pen symbol
Enter the new tab name and hit the button. - You can change the order of the tabs by grabbing the three vertical lines
 and drag the tab to its new location.
 - You can delete a tab by using the X button
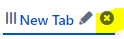 , just remember that when you delete a tab you also remove from the screen all the fields inside it. You can delete a tab only if it was added inside the project using Administer Fields For Project. If the tab was added by a Jira administrator or from another project, the tab can't be deleted.
- You can add a new tab to the screen using the + button
- Editing the fields in the screen:
- You can add a new field to the screen using the select list in the button, just select the field you want to add and hit the Add button.

- You can change the order of the fields by grabbing the three horizontal lines
 and drag the field to its new location.
 - You can delete a field from the screen by using the X button
 . You can delete a field only if it was added inside the project using Administer Fields For Project. If the field was added by a Jira administrator or from another project, the field can't be deleted.
 - You can sort all the fields in a tab alphabetically by one click -
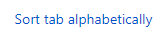 . The summary field will remain first.
- You can add a new field to the screen using the select list in the button, just select the field you want to add and hit the Add button.
- If you want to update multiple screens, make sure the
 checkbox is checked.
 - Hit the
 button to update the screen.
 - You should get this flag:
