Project administrators guide
Some of the features here might be unavailable for you. Please contact your Jira administrator if you think it should be available.
In this page
Where to find
To use Administer Fields for Project's features you have to be a project administrator at least in one project of the Jira instance.
To Access the Administer Fields for Project's dialog:
- Access the relevant project.
- Go to .
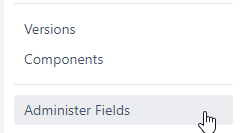
- Click on the Administer Fields button Under Components:
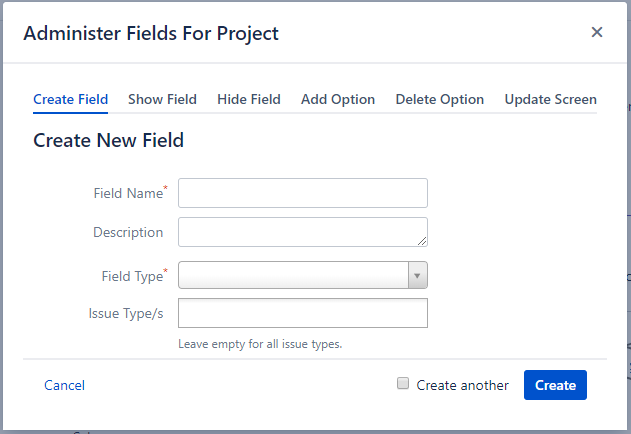
- A dialog similar to this one should open:
- You're good to go!
Field Configuration
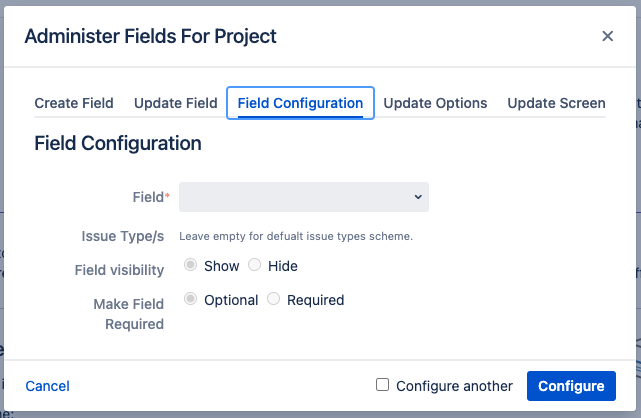
In this tab you can set the field configuration(show/ hide the field or set it required/ optional) by following these steps:
- Select the field you would like to configure.
- Select the issue types you would like to configure.
 Note that you can impact other issue types if they use a shared Field Configuration.
 - If you want to configure multiple fields, make sure the checkbox is checked.
- Hit the button to configure the field.
- If you set a field to be required, it cannot be hidden.
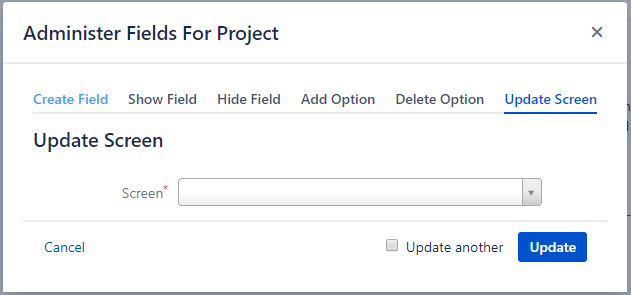
Update Screen
In this tab you can update a screen (see supported fields in the right) by following these steps:
- Select the screen you would like to update.
- Editing the tabs on the screen:
- You can add a new tab to the screen using the + button
Enter the new tab name and hit the button. - You can edit tab name using the pen symbol
Enter the new tab name and hit the button. - You can change the order of the tabs by grabbing the three vertical lines and drag the tab to its new location.
- You can delete a tab by using the X button , just remember that when you delete a tab you also remove from the screen all the fields inside it.
 You can delete a tab only if it was added inside the project using Administer Fields For Project. If the tab was added by a Jira administrator or from another project, the tab can't be deleted.
- You can add a new tab to the screen using the + button
- Editing the fields on the screen:
- You can add a new field to the screen using the select list in the button, just select the field you want to add and hit the Add button.
- You can change the order of the fields by grabbing the three horizontal lines and drag the field to its new location.
- You can delete a field from the screen by using the X button .
 You can delete a field only if it was added inside the project using Administer Fields For Project. If the field was added by a Jira administrator or from another project, the field can't be deleted.
 - You can sort all the fields in a tab alphabetically by one click - . The summary field will remain first.
- You can add a new field to the screen using the select list in the button, just select the field you want to add and hit the Add button.
- If you want to update multiple screens, make sure the checkbox is checked.
- All changes in the screen are saved automatically.
, multiple selections available,
Methoda Computer Ltd. All rights Reserved.
Confidential Information

